
Introduction
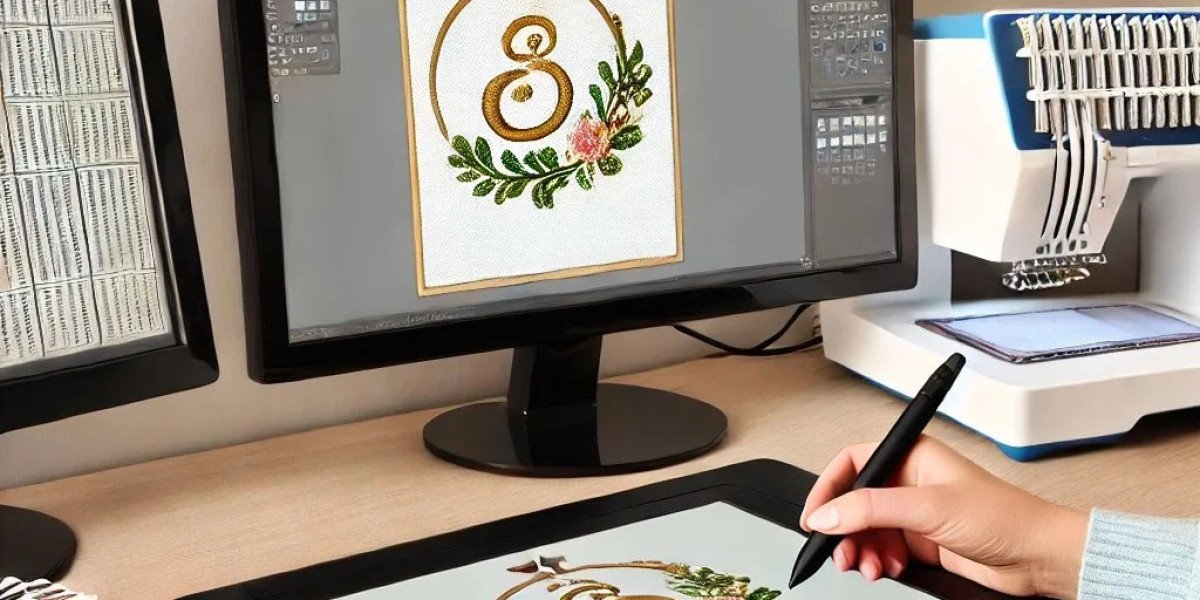
You have a beautiful digital design on your screen. The colors are perfect, the lines are crisp, and you know it would look incredible as an embroidered patch or logo. But getting that design from your computer screen onto fabric is not as simple as hitting print. Your embroidery machine speaks a completely different language than your computer. It does not understand pixels or RGB colors. It understands stitches, coordinates, and thread paths. Digital design to machine-ready embroidery file is the essential transformation process that bridges this gap. This is called digitizing, and it is the key to turning any artwork into a design that your embroidery machine can actually stitch.
The good news is that you do not need to be a technical wizard to understand this process. Whether you are a small business owner wanting to create branded merchandise or a hobbyist looking to personalize gifts, grasping the basics of digitizing will save you time, money, and frustration. Let us walk through exactly what happens when a digital design becomes an embroidery file and how you can set your artwork up for success.
What Digitizing Actually Means
When we talk about digitizing for embroidery, we are talking about the process of converting a digital image into a stitch file that an embroidery machine can read . This is not a simple file conversion like turning a JPG into a PNG. It is a creative translation that requires human judgment and expertise .
An embroidery machine cannot look at a picture and figure out where to stitch. It needs precise instructions. The digitized file contains all the necessary information: stitch types, directions, densities, color sequences, and even where to trim the thread . This is the roadmap that guides the machine's needle to recreate your design on fabric .
Professional digitizers manually determine these elements. They look at your artwork and decide which parts should use satin stitches for smooth edges, which areas need fill stitches for coverage, and what stitch angles will make the design look its best . This is why auto-digitizing tools often produce disappointing results. They lack the human eye that understands how thread behaves on different fabrics .
Why Your Artwork Matters More Than You Think
The quality of your finished embroidery starts long before the digitizing process begins. It starts with the artwork you provide. Not every image is suitable for embroidery, and understanding what works will make a huge difference.
The best artwork for embroidery has clean, simple shapes and solid colors . Images with gradients, shadows, or too many fine details do not translate well because thread cannot fade like ink . A design with limited colors, ideally under six, will stitch out much cleaner than one with a rainbow of shades .
For the best results, start with a high-resolution PNG with a transparent background or a vector file like SVG . PNG transparency helps the digitizer focus on your design without guessing where the background ends. Vector files are ideal because they scale without losing quality .
There are also practical size limits to consider. Text should be at least 0.25 inches tall, and lines should be at least 0.05 inches thick . Anything smaller may not stitch cleanly or could become illegible.
The Journey from Artwork to Stitches
The transformation from digital artwork to embroidery file follows a structured process. Understanding these steps helps you appreciate what the digitizer does and why preparation matters.
The process begins with uploading your artwork. The digitizer imports your image into specialized software as a background guide . This is where the real work starts.
The digitizer then traces the outlines of your design, creating vector shapes for each color area . Think of this like creating a digital coloring book. Each color block becomes a separate object that will receive its own stitch instructions.
Next comes assigning stitch types. Different parts of the design need different stitches. Borders and thin lines typically get satin stitches, which create smooth, shiny edges . Large filled areas get tatami or fill stitches, which cover the fabric efficiently . Fine details might use running stitches, which are simple straight lines.
The digitizer also sets stitch density and direction. Stitch density controls how close together the stitches are. Too dense and the fabric puckers. Too sparse and the fabric shows through . Stitch direction affects how light reflects off the thread, which changes how the design looks. A petal stitched outward from the center looks more natural than one stitched flat .
Finally, the digitizer organizes color changes and exports the file in the correct format, usually PES or DST for most commercial machines .
Understanding Stitch Types: The Building Blocks
Every embroidery design is made up of a few basic stitch types. Knowing what they are helps you understand how designs are constructed.
Running stitches are the simplest. They are single straight stitches used for fine details and outlines . These are great for small text and delicate linework.
Satin stitches track back and forth over a narrow area, creating a smooth, shiny finish . These are perfect for borders, lettering, and any narrow element under about 10mm wide. The name comes from the glossy look the long stitches create.
Fill stitches, often called tatami stitches, cover large areas with rows of parallel stitches . These are what fill in the body of a logo or the background of a design. The stitch angle can be adjusted to create texture and visual interest.
Manual stitches are created one at a time by the digitizer . These are used for artistic effects, like fur textures or fine facial features, where precise control is needed.
A good digitizer uses a combination of these stitch types to bring your design to life efficiently and beautifully.
The Secret to Professional Results: Compensation
One of the things that separates amateur digitizing from professional work is understanding compensation. When a needle punches through fabric, it pulls the fabric slightly inward. This is called pull distortion . Conversely, as stitches fill an area, the thread pushes outward, creating push distortion .
If a digitizer ignores these forces, a perfect circle in the software will stitch out as an oval . To compensate, the digitizer draws shapes slightly wider or narrower than intended. They know that the fabric will stretch and pull during stitching, so they adjust the design to account for it.
This is why professional digitizing produces such crisp results. The digitizer has experience with different fabrics and knows exactly how much compensation to apply. It is a skill that takes time to develop but makes all the difference.
Software Tools for the Job
You cannot digitize without software. There are several options, from free to professional grade.
Ink/Stitch is a free, open-source plugin for Inkscape that has become very popular among hobbyists and small businesses . It supports running, satin, and fill stitches and can export to formats like DST, EXP, and VP3 . The learning curve is steep, but the price is right.
Professional options like Wilcom Embroidery Studio are the industry standard . They offer automated and manual digitizing tools, auto-fabric settings, and color matching to real thread charts . These tools are expensive and require training, but they produce the best results.
Many online services now handle digitizing for you. You upload your artwork, and a professional digitizer creates the file . This is a great option if you do not want to learn complex software or only need a few designs digitized.
Conclusion
Transforming digital artwork into machine-ready embroidery designs is a process that blends art with technical precision. It is not just about converting a file format. It is about reimagining your design in thread, making creative decisions about stitch types, directions, and densities.
Starting with clean, simple artwork makes the digitizer's job easier and leads to better results. Understanding the basic stitch types and how compensation works gives you insight into why professional embroidery looks the way it does. Whether you choose to learn digitizing software yourself or hire a professional service, knowing the process helps you get the best possible embroidery every time.
The next time you look at a beautifully embroidered logo, you will know exactly what went into making it. That is the real magic of digitizing, turning digital art into something you can touch and wear.