
Introduction
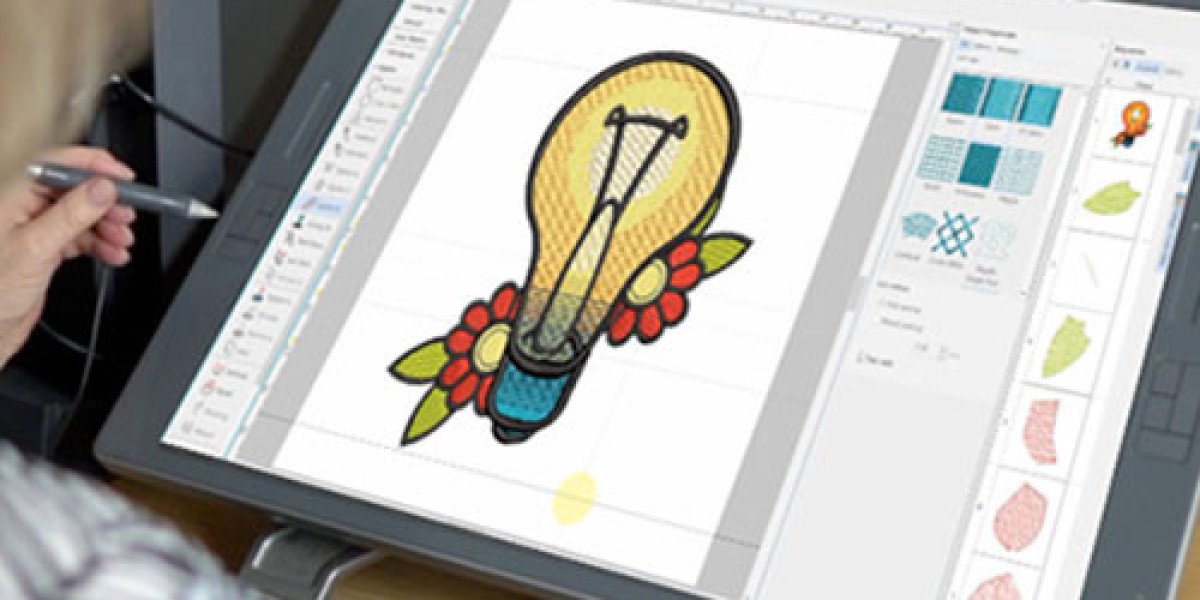
You have a great design, a top-of-the-line machine, and the perfect fabric. But when you hit start, the result is a mess. Threads are breaking, the fabric is puckering, and your beautiful logo looks like a distorted shadow of itself. It is frustrating, and it is expensive. The problem is almost always hiding in the digitizing file. Expert Embroidery File Digitizing is the art of transforming a simple image into a precise set of stitch instructions that your machine can execute flawlessly. It is not just about converting a file. It is about engineering a stitch path that accounts for fabric behavior, thread tension, and machine mechanics. Let me walk you through exactly how the pros create files that are clean, precise, and ready for production.
The Starting Point: Clean Artwork is Everything
You cannot digitize a messy image and expect a clean result. If your artwork has noise, dithered colors, or anti-aliased edges, the digitizing process will struggle to interpret it . Professional digitizers know that the best results come from images with solid, well-defined color blocks and clear outlines .
For automatic digitizing, the software needs to easily identify distinct shapes and color areas . If you are using a photograph or an image with gradients, you will likely run into problems. Embroidery cannot reproduce the subtle shading of a photograph . The pros often use vector-based artwork or manually clean up bitmap images by reducing the number of colors, removing noise, and sharpening outlines . A transparent background in a PNG format is much better than a JPG for digitizing purposes .
The Technical Foundation: Underlay and Compensation
Once the artwork is ready, the real engineering begins. Professionals focus on two critical areas that make or break the design: underlay and pull compensation.
Underlay: The Invisible Support System
Underlay stitches are the foundation of the design, sewn first to stabilize the fabric and prevent the top stitches from sinking in . A professional digitizer does not use a one-size-fits-all approach. For a dense design on stretchy cotton, they might use a dual-action grid underlay to lock down the fibers and create a stable surface . For smaller or thinner elements, a center-walk or edge underlay helps prevent distortion . Skipping proper underlay is a fast track to a messy, unprofessional result.
Pull Compensation: Fighting Fabric Physics
This is where the real magic happens. When a needle penetrates fabric, it pulls the material inwards. This tension can cause shapes to distort, leading to gaps between neighboring areas or rounded edges that look flat . To counteract this, professional digitizers use pull compensation. This involves "overstitching" the outlines of filled shapes slightly, effectively stretching the design in the digital file so that it comes out right on the fabric . For elastic fabrics, more pull compensation is required . Some software even has fabric-specific settings to automatically adjust the compensation .
Designing for the Machine
A professional digitizer also thinks about the actual sewing process. They do not just create a design that looks good on screen. They make it "production-ready."
This means paying attention to stitch density. Overly dense designs can cause fabric puckering, stiffness, and even needle breaks . The experts adjust density based on the fabric. For a cap front, for example, they might carefully balance the stitch count to prevent a "bullet-proof" stiffness .
They also think about sequencing. The order in which the design stitches out matters. Professionals often digitize from the center of the design outward. This pushes any minor fabric slack toward the edges, preventing puckering in the middle . They also optimize jump stitches and trims to minimize machine downtime and keep the back of the design clean .
The Final Result: Efficiency and Quality
When a file is digitized correctly, the results are unmistakable. The design stitches out cleanly, without thread breaks or registration issues . The edges are crisp, the details are sharp, and the fabric lies flat. A production-ready file reduces waste, saves time, and ensures that every piece coming off your machine looks professional.
Conclusion
Expert embroidery file digitizing is a blend of art, science, and technical knowledge. It starts with clean artwork, relies on proper underlay and pull compensation, and is designed with the manufacturing process in mind. When you invest in professional digitizing, you are not just buying a file. You are buying a guarantee that your design will stitch out perfectly, your machine will run smoothly, and your final product will look as good as you imagined.